Friday, 29 July 2016

Focal Length Experimentation - Straight Images and technique

18mm

24mm

35mm

45mm

55mm
This series of photographs should've worked really well, however I had to change the battery and when I did that the aperture changed and I didn't notice, this meant that the photographs after I changed the battery are slightly darker. Although I still think they worked well overall.

55mm

45mm

35mm

24mm

18mm

I like this series of photographs, I think that it worked well and I managed to keep the same headspace more or less as I zoomed out. However the last photograph of this series is possibly a bit close to the camera.

To do this technique I kept the camera completely still on a tripod. 
I then did two different series of photographs, in the first one I zoomed in each time whilst not moving the camera at all, I didn't think this was that interesting as it was just looking at how different focal lengths change a photograph, however I liked the second task where we had to keep the subject in the same headspace whilst still zooming out, meaning that I had to move the camera. I think this worked really well as it meant we could see how focal length changes a person in a photograph.

Wednesday, 27 July 2016

Shoot One - Final Images


Shoot one - straight images


Sequencing - Final Image


To make this image:

  • Firstly I opened all the images I was going to use on photoshop. 
  • Next I put them all on top of each other, creating layers. I did this by pressing cmd A, then cmd C on the image before pressing cmd V on the image I wish to layer up.
  • After this, I then clicked on the first layer and used the lasso tool to select roughly around the subject.
  • Next, I clicked command J and added a new layer mask 
  • After this, I clicked edit fill, in order to fill the background black
  • Next, I painted over where the individual was in order to show them through
  • I completed this for all layers of my image in order to achieve the final product. 

Animated Gif - Work Diary


How to make a GIF:

  • Upload all images to photoshop
  • Put all of the photographs I wanted to use to make the gif into one file
  • Click the window tab at the top of the screen
  • Choose timeline
  • Click create video timeline
  • Change the time to 5fps (or however long you want)
Camera settings:
1/290 seconds
f/2.8
ISO: 100

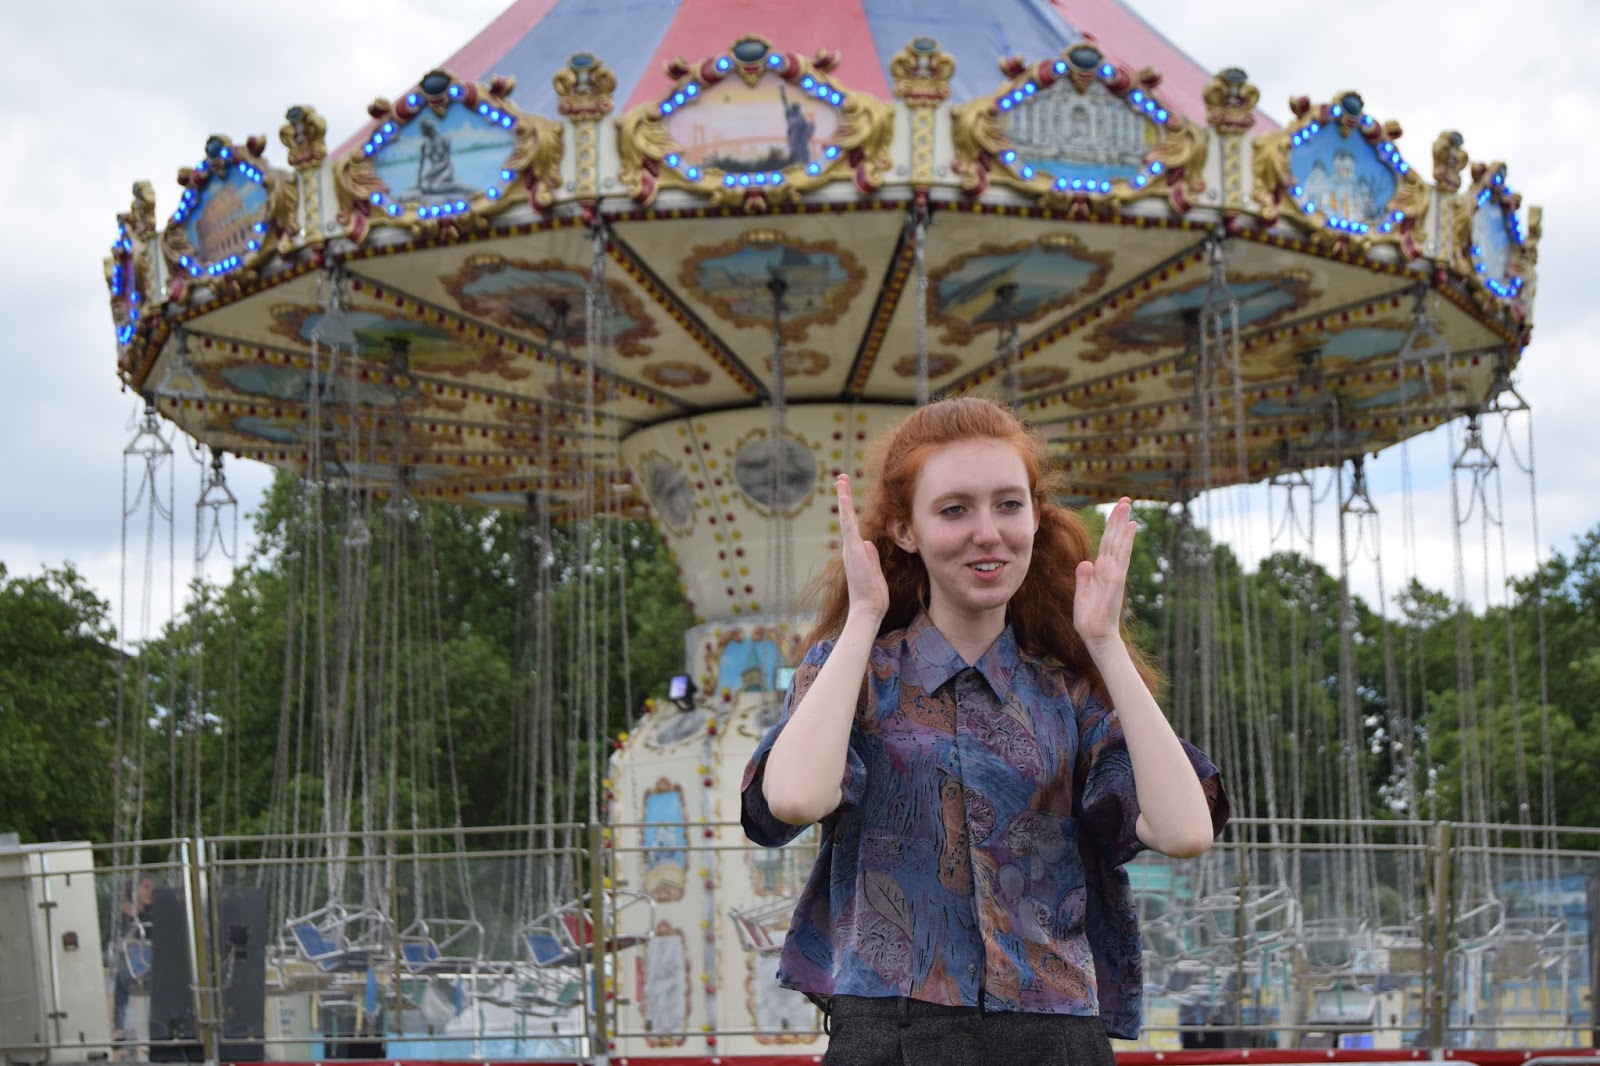
We went to Harlow Park to take photographs for our sequencing shoot, we had to use the photographs to create both a sequencing photograph and a gif, I really enjoyed this because I hadn't learnt these skills on photoshop before. I did use a tripod for this task although I didn't keep it steady so the photographs aren't in the same place, although this can create a nice effect for gifs, I would like to re-do this with a steady camera because I think it would look better, in addition there is a blur on the top of the screen, I obviously didn't check the camera lens before I started taking photographs, this looks quite bad and draws your eye towards it which is a shame because I think the gif is quite good. 

Progression:
Next time I will take longer making sure my camera is set up well and that the tripod is working and is steady. 

Sequencing - Straight Images


Sequencing - Definition Post and Image bank

A sequence is a serial arrangement in which things follow in logical order or a recurrent pattern. Photo sequencing is actually stitching multiple images together and it is a form of time lapse photography. A change in an object's position over time is being displayed and it only works when the object moves across a static background

What we need for sequencing:
  • Tripod
  • Fast shutter speed
  • Manual camera settings (to fix the exposure)
  • Manual Focus
  • No camera shake (be careful when pressing the button)
  • Direct the shoot (composition/framing and where the moving elements will move from and to are important)
  • Photo-editing software
This photograph shows somebody doing a series of jumps, this was at least 6 different photographs that have been layered together to show their movements, I really like this because it has a lot of bright colours and it also shows sequencing really well, we can see what the subject was doing and none of the photographs are blurry meaning they were taken using a very quick shutter speed.

This sequencing photograph shows somebody jumping off of a rock, I think that this photograph shows a lot of skill because the photographer only had one chance to take these photographs unless the subject was willing to jump again. In addition I think that the saturation is quite high which really works with this photograph

This photograph shows a man jumping with a snowboard, it has a lot more pictures in it than the other photographs I've look at before now which would've involved a lot of work, these photographs were definitely taken using a tripod and the photographer must've used quick shot to take the photographs because the snowboarder wouldn't have been able to slow down at all.

This sequencing photo is similar to the photograph above, they both show someone doing a flip in the air, I don't like this photograph as much because I personally don't think it's framed very well, the person on the bike is mainly in the bottom part of the photograph which leaves a lot of empty space, unlike the photograph above which hasn't got much empty space. 

Personally I think that sequencing can look nice for things like sports where there is a lot of movement, however if someone is just walking then I think sequencing would look very bad, I also think it has to be well framed, just like with any photograph, although more for this because in some cases it is very difficult to retake photographs and it doesn't turn out well if you haven't thought about framing.